| Cameras | The Contax IIa | Voigtlander Bessa-R | Retina Cameras |
Putting It Back Together
Now, the easy part: putting the camera back together. It's simply a matter of replacing all of the covers, lids and screws. At each stage, make sure dials spin freely. Be careful not to damage the screw heads, especially the ones on the exterior of the camera. Damaged screw heads make your job look horribly amateurish.
The leather might be slightly tacky. That's normal. After a few hours or a day, it will be once again smooth to the touch. Use a rag or paper towel to wipe away excess shoe polish that might be on the chrome parts. While you're at it, use a damp rag to wipe down the entire camera body. Get into the crevices with a dry toothbrush. Use short blasts of compressed air to help. Finally, replace the rest of the parts. You'll need to remove the film advance knob, of course. One thing to note. When you get to the final stages of replacing the shutter speed ring and advance knob, you need to make sure that the indicator is on the correct speed. With the Contax II, it's easy for it to indicate the incorrect speed. Simply use the blade of a small screwdriver to turn the brass ring until it's at the correct speed. Without tightening the screws, insert the film advance knob, advance the film and release the shutter. The 1/125 speed should be a regular "thunk." The 1/50 speed should have a "zzzz" sound. That's how you'll know. Once you have it set, retighten the screws until they're slightly past snug. Replace the rest of the dials and faceplates. Check all of the shutter speeds before you get too far.
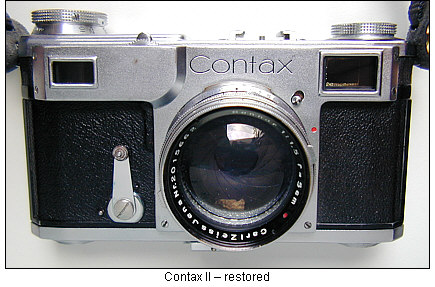
I use Elmer's Pro Bond wood glue to rebond the leather to the body. Don't use too much. Use a tissue, rag or paper towel to help you reflatten the leather. Before you rebond, use a dry toothbrush and some compressed air to remove any surface debris. That's it. You're done. Let the shoe polish rejuvenate the leather. Feel free to give it a second application. You can also use a plain cotton rag or old T-shirt to buff the chrome clean. Unless the camera was never used, there will almost always be some discoloration or brassing. Don't worry about that too much. That's just a part of owning a 60-year-old camera. The important part is that you've cleaned, lubricated and adjusted your Contax. Total time for me: About seven hours. Your mileage may vary. Dry fire the camera several times. Everything sounds good? Your last step is the most fun. Reattach the lens, load it with some film and shoot away! |
|||
| The Lens Mount < | |||
 Before
you get too far along in reassembling the camera,
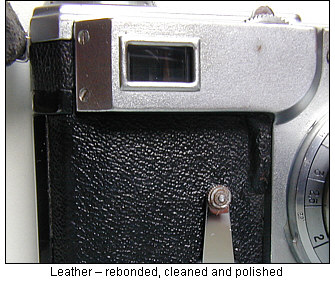
now is a good time to clean the leather. Saddle soap and a toothbrush
will work wonders. Don't brush vigorously. A light touch is enough. You might have to do it several times until the
toothbrush comes away clean. Wash the toothbrush under some running water
each time. Use a clean damp rag to wipe away the saddle soap. Dry the body
with a clean cloth. I use some Kiwi black shoe polish on the leather and
buff it to a nice shine with a horsehair brush.
Before
you get too far along in reassembling the camera,
now is a good time to clean the leather. Saddle soap and a toothbrush
will work wonders. Don't brush vigorously. A light touch is enough. You might have to do it several times until the
toothbrush comes away clean. Wash the toothbrush under some running water
each time. Use a clean damp rag to wipe away the saddle soap. Dry the body
with a clean cloth. I use some Kiwi black shoe polish on the leather and
buff it to a nice shine with a horsehair brush.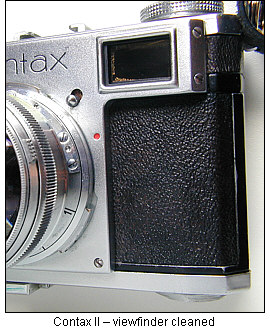 With
the front faceplate, be very careful when you reattach it. Check to see
that there is nothing under the left side screw near the self-timer. If
you have debris or leather under the faceplate, the lens mount will bind
when you try to focus.
With
the front faceplate, be very careful when you reattach it. Check to see
that there is nothing under the left side screw near the self-timer. If
you have debris or leather under the faceplate, the lens mount will bind
when you try to focus.